


English
Views: 0 Author: Site Editor Publish Time: 2026-08-23 Origin: Site


Installation failures carry a heavy price tag for any building contractor. Few things ruin a commercial project faster than buckling, warping, or dropped ceiling panels. Often, these expensive disasters stem from a single oversight during construction. Installers routinely fail to plan for adequate thermal expansion. Wood Plastic Composite (WPC) remains incredibly stable compared to natural wood. However, it still possesses a distinct thermal expansion coefficient. This unique material characteristic requires rigorous perimeter gap planning.
You cannot simply wedge panels tightly against walls and expect long-term perfection. In this guide, we provide exact tolerances for your commercial-grade installations. We detail crucial installation variables and proven layout strategies. You will learn exactly how environmental factors dictate your expansion joints. We also reveal professional concealment techniques to keep your ceiling looking flawless. By following these guidelines, you ensure both aesthetic beauty and structural integrity.
Contractors often skip expansion protocols to save time on tight schedules. This shortcut leads directly to severe business problems. When panels expand without adequate space, they have nowhere to go. The resulting pressure forces the rigid material downward. You will quickly see severe buckling across the entire ceiling span.
The failure sequence happens in several highly predictable stages:
These progressive failures require costly callbacks, complete tear-downs, and total material replacements. Understanding the material science behind WPC explains this movement. Wood Plastic Composite blends dense wood fibers with advanced polymers. The wood fiber provides excellent rigidity and reliable structural support. However, the plastic matrix reacts entirely differently to its environment. It expands and contracts significantly as ambient temperatures fluctuate. This thermal movement happens regardless of room moisture levels. You must actively account for this polymer behavior during installation.
We must maintain clear assumption transparency here. Expansion rates always vary slightly by manufacturer. Different material densities also affect how much a panel shifts. Factory guidelines will always supersede general industry rules. You should consult your specific manufacturer documentation before finalizing any gap measurements.
You need a standardized evaluation framework to calculate these gaps accurately. Proper planning relies entirely on room size and local climate variables. You must measure the total continuous span before cutting any material. Below, we break down the fundamental rules for establishing your perimeter space.
Perimeter Gap Sizing Guide| Room Span Length | Required Perimeter Gap | Additional Expansion Joints Required? |
|---|---|---|
| Under 5 Meters | 6mm (1/4") | No |
| 5 to 10 Meters | 10mm (3/8") | No |
| Over 10 Meters | 10mm (3/8") at edges | Yes (T-molding every 10m) |
Most standard rooms fall comfortably under the 10-meter span threshold. In these moderately sized spaces, specify a baseline 6mm to 10mm gap. This space must run completely around all fixed vertical obstacles. You must leave this gap against walls, structural columns, and HVAC pipes. This allowance gives the material enough room to "breathe" during normal daily temperature cycles. Neglecting even one structural column can create a dangerous pressure point. Localized pressure points will eventually ruin the entire ceiling plane.
Commercial properties introduce distinct scalability risks. Large continuous spans compound thermal expansion significantly. A single panel might only expand one millimeter. However, thirty connected panels will expand a massive, highly destructive amount. If you run a continuous ceiling beyond 10 meters, perimeter gaps alone fail. The cumulative pressure will easily overwhelm a standard 10mm edge gap.
You must break up the layout strategically. We detail the strict necessity of breaking the layout using a T-molding. You can also use a dedicated expansion joint. These intermediary joints absorb the cumulative pressure safely. Plan these layout breaks across doorways or natural architectural transitions. This strategy ensures a seamless visual integration while maintaining essential structural integrity.
Risk mitigation starts long before you make the first cut. The most common installation error is installing panels immediately after delivery. Moving materials from a hot delivery truck directly into an air-conditioned building shocks the boards. It forces rapid contraction after you have already secured the fasteners to the joists.
You must understand the distinct relationship between temperature and moisture. Traditional wood swells primarily due to high ambient humidity. WPC reacts entirely differently. It remains relatively impervious to humidity and airborne water vapor. However, it is highly reactive to extreme temperature shifts. An HVAC failure during construction can cause massive panel movement.
Follow a strict, actionable rule for every commercial project. Mandate a 48-to-72-hour acclimation period for every WPC ceiling panel. You must perform this step in the exact room where the material will permanently reside.
Follow this environmental control checklist to ensure stability:
This critical process neutralizes thermal movement before actual installation begins.
A visible 10mm gap around a ceiling looks completely unfinished. You need reliable solution categories to hide this space. Importantly, you must hide it without restricting material movement. Modern interior architecture offers several elegant ways to mask these vital expansion zones.
Floating trims provide a classic, highly effective concealment method. When installing crown molding, you must fasten the trim strictly to the wall. Never pin the trim through the ceiling panel itself. Driving a brad nail through the trim and into the panel locks the ceiling in place. This common mistake instantly destroys the expansion gap's core purpose. The panel must slide freely underneath the floating trim during temperature shifts.
High-end commercial projects often demand a modern, trimless aesthetic. The "shadowline" edge design provides a perfect contemporary evaluation criterion. This method uses a recessed architectural track mounted to the wall perimeter. The ceiling panels slide directly into this deep aluminum recess. The visible result is a crisp, dark reveal around the ceiling border. The hidden cavity inside the track provides ample room for necessary thermal expansion. Painting the inside of the track black enhances this visual illusion beautifully.
Let us review some critical fastening warnings. Always avoid using rigid construction adhesives near the perimeter. Glue restricts natural movement and causes immediate ceiling buckling. Instead, rely entirely on floating clip systems. You can also use specialized screws designed with specific movement tolerances. These fasteners secure the panels securely while allowing slight lateral shifts.
A cohesive interior requires smart shortlisting and careful procurement logic. Guide your buying process by planning the entire material list upfront. This ensures perfectly compatible expansion tolerances across all your architectural surfaces. It also guarantees matching aesthetics throughout the entire commercial space.
Material synergy becomes vital when ceiling perimeters interact with vertical wall finishes. You must plan for intersecting expansion zones carefully. For example, leaving appropriate gaps is essential when your ceiling meets a WPC wood veneer wall panel. The exact same rule applies if you transition into a WPC bamboo charcoal wall panel. Both vertical surfaces will expand and contract at their own respective rates. You must design floating joints where these horizontal and vertical planes intersect. Do not caulk these transition corners solid.
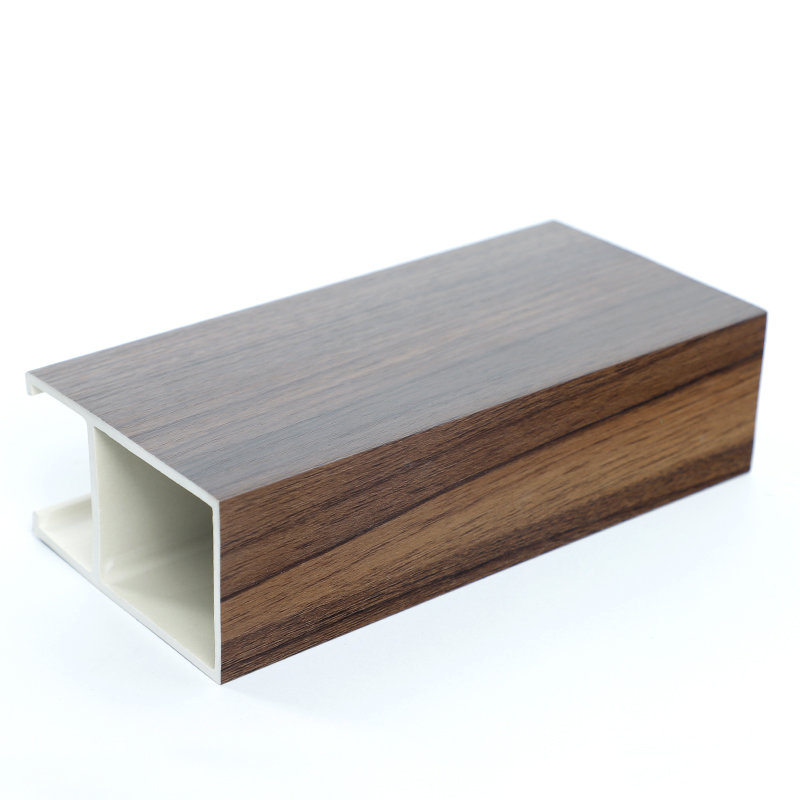
Do not overlook structural and trim components during the initial design phase. You can utilize a WPC square tube to create striking suspended baffles. These robust tubes also handle difficult dropped ceiling transitions beautifully. Furthermore, integrating a WPC surface plate allows for highly custom fascia trims. These custom plates seamlessly cover the necessary perimeter gaps. They mask the strict engineering requirements while significantly elevating the room's overall design.
Let us summarize the core engineering requirements for your upcoming project. The standard 6mm to 10mm expansion gap is an absolute necessity. It is never a casual suggestion. Ignoring this strict tolerance guarantees buckling, warping, and expensive structural failures. By honoring fundamental thermal expansion physics, you safely protect your commercial investment.
Take immediate next-step actions to secure your ceiling project:
Proper environmental planning guarantees a flawless, long-lasting installation every time.
A: No. Silicone restricts movement and can cause buckling. The gap must remain open and covered only by a floating trim.
A: If acclimated to the building's controlled, year-round HVAC temperature, the standard gap applies. Unconditioned spaces require calculating maximum thermal variance.
A: You must install an intermediary expansion joint (T-molding) to break up the continuous span, as perimeter gaps alone cannot absorb the compound expansion.
A: Yes, vertical installations also require top and bottom expansion gaps to prevent warping, though gravity impacts the hanging method differently.


