


English
Views: 0 Author: Site Editor Publish Time: 2026-08-27 Origin: Site


The true test of any faux stone installation is the corner. Poorly executed edges expose the material's internal profile instantly. This immediately breaks the delicate illusion of natural masonry. Real stone wraps organically and seamlessly around architectural structures. Your imitation panel products must mimic this natural behavior perfectly. However, cutting polyurethane foam panels reveals a raw interior core. You must hide this exposed foam carefully to maintain visual realism and weather protection. We wrote this article to provide a transparent, evidence-based breakdown of edge-finishing techniques. You will learn how professionals handle inside, outside, and angled corners perfectly. We will help you evaluate labor requirements, upfront material budgets, and necessary accessories before purchasing.
Visual continuity forms the foundation of any convincing architectural facade. Real stone wraps organically around building structures and chimney breasts. If your PU stone panel stops abruptly at an edge, the installation fails immediately. It loses all visual credibility without a natural, continuous return. We must deeply understand specific material profile constraints. Polyurethane panels feature high-density foam cores underneath a durable outer skin. Cutting these panels exposes the untextured, raw foam interior directly. You must meticulously treat or completely hide this exposed core.
A successful installation evaluation requires making a clear choice. You must decide between field-cutting flat panels or utilizing system-specific accessories. Field-cutting requires higher manual labor but significantly lowers material costs. Dedicated corner accessories lower labor time but raise your overall material expenses. We often see homeowners underestimate the advanced skill needed for perfect manual edges. You should base your final decision on your specific project needs and skills.
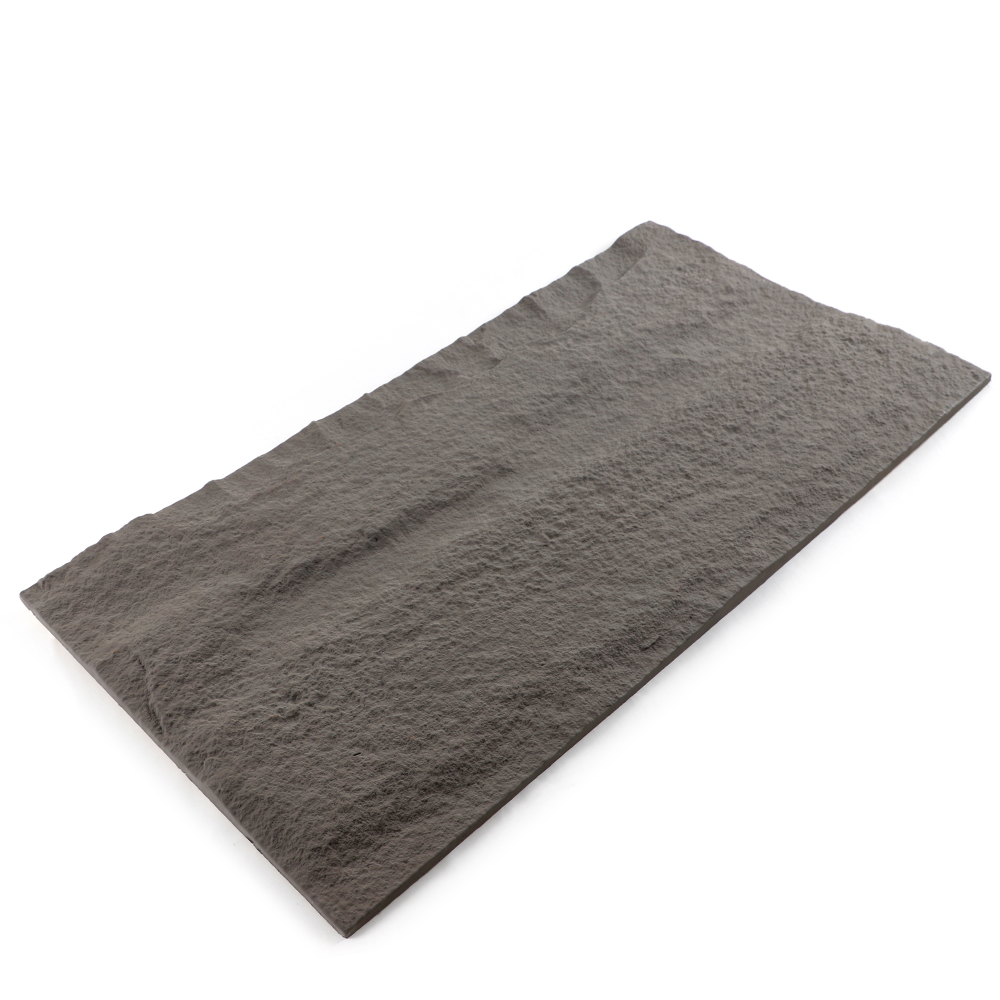
The precise 45-degree miter represents the absolute industry standard. Professional contractors use this technique heavily. They create seamless outside corners directly from standard flat panels. Installers cut two pieces at precisely opposing 45-degree angles. Joining them forms a tight 90-degree wrap around the wall. You will need specific, high-quality tools for this task. A standard table saw works well for straight cuts. A sliding compound miter saw offers even better precision.
We must emphasize a critical expertise note here. A fine-tooth woodworking blade is strictly required. Aggressive masonry blades will easily chip the painted face. High friction from dull blades might melt the interior polyurethane foam. Standard woodworking blades featuring 60 to 80 teeth prevent this melting issue. Pattern matching remains a crucial step in this process. We often call this the "fold" technique. The stone pattern must look like it folds organically.
You achieve this by cutting directly through a specific "stone". You must cut this stone directly on your 3D PU stone panel. Keep both halves of the cut stone. Mate them exactly at the exposed corner edge. This creates a continuous, unbroken rock face. Risk assessment is vital when choosing this manual route. This method involves a predictably high material waste factor. Evaluators must factor in an additional 10-15% of material. This necessary buffer covers inevitable pattern-matching adjustments and cutting errors.
Engineered solutions offer a highly streamlined alternative for installers. Most premium manufacturers produce dedicated corner panels. They engineer these pieces specifically for their decorative PU wall panel lines. These accessories arrive cast featuring a pre-formed 90-degree return. They feature staggered, interlocking edges known commonly as finger joints. These specific joints seamlessly mate directly against standard flat panels.
You must evaluate the cost-benefit dimensions carefully. Let us examine the various trade-offs involved in this decision. Labor savings are incredibly significant using this route. Pre-fab units eliminate the frustrating need for precise miter cuts. They remove complex pattern matching from the equation entirely. Structural integrity improves dramatically as well. Factory-sealed corners eliminate the serious risk of moisture penetration.
This protects the most vulnerable points of exterior walls. It also secures complex fireplace surrounds against seasonal drafts. We strongly recommend these accessories for commercial retail rollouts. They suit exterior applications and complex residential projects perfectly. Choose them when local labor rates easily outpace raw material costs. They speed up project timelines significantly while ensuring pristine visual quality.
Cost-Benefit Analysis: Corner Installation Methods
| Evaluation Dimension | Field Fabrication (Miter Cut) | Pre-Fabricated Corner Panels |
|---|---|---|
| Initial Material Cost | Lower (Uses standard flat panels) | Higher (Premium accessory pricing) |
| Labor Time Required | High (Measuring, cutting, matching) | Low (Plug-and-play installation) |
| Required Skill Level | Advanced (Carpentry experience needed) | Beginner to Intermediate |
| Moisture Resistance | Moderate (Relies heavily on caulking) | Excellent (Factory-sealed return) |
You must adapt your installation approach based on the specific corner type. Outside corners feature extremely high visual prominence. Guests notice them the moment they enter a room. They require perfect miter cuts or pre-fabricated corner panels. These highly visible edges cannot tolerate exposed foam cores. Even a small glimpse of yellow foam ruins the facade completely.
Inside corners experience much lower visual scrutiny. They reside in shadows and naturally hide minor imperfections. They rarely require expensive pre-fabricated pieces. You can achieve excellent results using a simple butt joint. Run one flat panel directly into the deep corner space. Take the intersecting panel and butt it tightly against it. You can finish this interior seam very easily.
Apply a thick bead of color-matched, textured caulk along the joint. This effectively simulates a realistic mortar line between the stones. Angled or irregular surfaces pose entirely unique structural challenges. Many modern homes feature non-90-degree structural walls. For these tricky areas, you must custom-bevel your flat panels. Use a reliable table saw or a sharp hand rasp.
Bevel the edges of your PU rock stone wall panel carefully. This vital step accommodates custom structural angles flawlessly. For instance, octagon-shaped architectural pillars often require precise 22.5-degree cuts. Take your time measuring these unique angles to prevent costly mistakes.
Addressing the inner polyurethane core remains absolutely mandatory. Even utilizing perfect saw cuts, micro-gaps may occasionally occur. You must carefully conceal these visible gaps between individual pieces. Manufacturer-approved touch-up kits are essential for any successful installation. A proper kit includes multiple essential components for finishing.
It contains base colors, wash colors, and textured caulk. Application technique ultimately separates amateur finishes from professional results. First, apply the textured caulk directly into the visible seam. Use a damp paintbrush to stipple the wet caulk. Stippling blends it seamlessly into the existing rough stone texture. Do not smooth it completely flat like regular bathroom silicone.
Finally, feather the touch-up paint over the patched area gently. This bridges the visual color gap between the two joined panels. Proper seam sealing ensures vital code compliance and physical durability. It is certainly not just a superficial aesthetic requirement. Sealed joints actively prevent harmful UV degradation over time.
Harsh sunlight will yellow and break down exposed polyurethane foam quickly. Proper caulking also blocks liquid water ingress into the panel's core. This meticulous finishing process guarantees the long-term longevity of the installation. It protects your interior structural walls from hidden moisture rot.
Understanding how materials are measured prevents costly job site shortages. Retailers and manufacturers sell corner pieces exclusively by the linear foot. You measure this vertically straight up the wall edge. Start from the floor and measure upward to the ceiling. Conversely, retailers sell standard flat panels strictly by the square foot.
Knowing this exact difference is crucial for accurate material ordering. It is especially important when ordering a Faux Stone PU Wall Panel. Calculating materials requires a methodical mathematical approach. We use a proven ordering formula for consistent accuracy.
Waste Estimation Guide by Installation Method
| Installation Strategy | Recommended Panel Overage | Primary Reason for Waste |
|---|---|---|
| Using Pre-Fabricated Corners | 10% | Standard wall trimming and outlet cutouts. |
| Field Fabrication (Miter Cuts) | 15% to 20% | Pattern matching "fold" technique and cutting errors. |
| Complex Angled Walls | 20% | Custom beveling mistakes and off-angle adjustments. |
Achieving realistic corners relies entirely on careful edge management. Your final visual result depends on concealing the internal foam structure. Exposed edges destroy the architectural illusion instantly. For maximum authenticity, pre-fabricated corner panels represent the superior choice. They simplify the complex installation process immensely.
They also drastically lower the risk of expensive cutting mistakes. For budget-constrained projects, field fabrication remains a highly viable alternative. However, you must use careful miter cutting techniques. Rigorous touch-up finishing is strictly mandatory for manual cuts. Skilled labor is highly recommended if you choose to field-cut panels.
Review specific manufacturer installation guides carefully before starting your project. Check the available corner accessories for your shortlisted panel profiles. Manufacturers do not always offer accessories for every single style. Finalize your material quantities only after confirming accessory availability. This simple verification step prevents unexpected delays during your renovation project.
A: Because PU panels are rigid high-density foam, they cannot be bent. Curved walls require cutting the panels into smaller vertical sections and mitering each joint slightly to follow the radius, followed by extensive seam-caulking.
A: No specialty masonry blades are required. A standard woodworking blade with a high tooth count (e.g., 60-80 teeth) is ideal for achieving a clean, chip-free cut through the polyurethane without melting the foam.
A: You must perform a 45-degree miter cut so the painted faces meet at the apex of the corner. Any slight exposure of the interior foam must be sealed and painted using the manufacturer's exact touch-up kit to ensure UV and weather resistance.
A: Most reputable manufacturers offer matching corner pieces for their primary product lines, but availability varies by texture and colorway. Always verify corner-piece availability before committing to a specific flat panel design for a project with multiple outside corners.


